
0 ITEMS

Excel Accounts Receivable Dashboard Template: A How-To Guide

Managing accounts receivable can be simplified with an Excel dashboard designed for tracking payments and outstanding invoices.
- It provides real-time visibility into credit sales, overdue accounts, and payment trends.
- Automating reminders, invoice generation, and data updates saves time and reduces errors.
- Customizable visualizations help identify late-paying customers and improve cash flow management.
- The dashboard supports quick decision-making by offering up-to-date insights on collection performance.
- Regular updates and reviews ensure the dashboard remains aligned with your business goals.
This guide offers practical steps to set up and optimize your Excel accounts receivable management system.
Benefits of an Excel Accounts Receivable Dashboard Template
An Excel Accounts Receivable Dashboard Template offers numerous benefits that can revolutionize your financial management. Let’s explore a few key advantages:
Improved Visibility and Control
An accounts receivable dashboard provides a comprehensive overview of your credit sales, outstanding invoices, and customer payment histories. With this real-time visibility, you can track your receivables, identify late-paying customers, and take proactive measures to improve cash flow. Clear visualizations allow you to stay in control of your financial operations and make informed decisions.
Efficient Receivables Management
An Excel dashboard allows you to automate repetitive tasks, such as generating invoices, reminders, and payment receipts. By streamlining your receivables management processes, you can save time, reduce manual errors, and focus on building stronger customer relationships. The dashboard also provides insights into average collection times, aging reports, and customer credit limits, enabling you to optimize your collection efforts.
Quick Decision-Making
With an Excel Accounts Receivable Dashboard Template, you can access real-time data and analytics instantly. This empowers you to make informed decisions and respond quickly to changing business dynamics. By having a clear understanding of your cash flow position, collection performance, and customer payment patterns, you can identify trends, detect potential risks, and implement strategies to mitigate them effectively.
Creating an Excel Accounts Receivable Dashboard Template: Step-by-Step Guide
Step 1: Determine Key Metrics and Goals
Before you dive into creating your dashboard, it’s important to define the key metrics and goals you want to track. Some common metrics for accounts receivable include total outstanding balance, average collection period, customer aging, and collection efficiency. Identify the specific metrics that align with your business objectives and prioritize them accordingly.
Step 2: Gather and Organize Data
The next step is to gather the necessary data for your dashboard. This includes customer information, invoice details, payment records, and any additional relevant data points. Collect and organize this data in a structured manner, ensuring consistency and accuracy. Consider using Excel’s data validation and conditional formatting features to maintain data integrity and enhance visual representation.
Step 3: Design and Build Your Dashboard
Now comes the exciting part – designing and building your Excel Accounts Receivable Dashboard template. Start by selecting appropriate charts, graphs, and tables that best represent your chosen metrics. Excel offers a wide range of visualization options, including bar charts, line graphs, pivot tables, and sparklines. Customize the layout, color scheme, and fonts to create a visually appealing and easy-to-read dashboard.
Step 4: Implement Interactive Features
To enhance user experience and functionality, consider implementing interactive features in your dashboard. Excel offers features such as slicers, drop-down lists, and conditional formatting rules that allow users to filter, analyze, and drill down into the data. Interactive dashboards enable users to view specific customer details, compare performance across different time periods, and gain deeper insights into their accounts receivable performance.
Step 5: Test and Refine
Once your dashboard is built, it’s essential to thoroughly test its functionality and accuracy. Validate the formulas, ensure data updates correctly, and check for any errors or discrepancies. Solicit feedback from key stakeholders and make necessary refinements based on their input. Regularly review and update your dashboard to accommodate changing business needs and evolving performance metrics.
Tips for Optimizing Your Excel Accounts Receivable Dashboard Template
Tip 1: Keep it Simple and Clear
Cluttered dashboards can be overwhelming and hinder quick decision-making. Keep your dashboard design clean, concise, and focused on the most critical information. Avoid excessive use of colors, unnecessary data points, and complex visualizations that may confuse users. Remember, simplicity fosters clarity.
Tip 2: Use Conditional Formatting
Utilize conditional formatting to highlight important trends, outliers, or overdue accounts. By applying conditional formatting rules to your dashboard, you can instantly identify areas that require attention. Color coding, data bars, and icon sets can be effective visual aids to convey information effortlessly.
Tip 3: Automate Data Updates
To ensure real-time data accuracy and save time, automate data updates in your dashboard. You can use Excel’s data connection and refresh functionality to link your dashboard to your accounting software or database. Set up scheduled data refreshes to fetch the latest information and keep your dashboard up-to-date.
Tip 4: Regularly Review Performance
A dashboard is only as effective as the insights it provides. Regularly review and analyze the performance metrics tracked in your dashboard. Identify trends, patterns, and areas for improvement. Use this information to adjust your collection strategies, enhance customer relationships, and achieve your accounts receivable goals.
Best Practices for Excel Accounts Receivable Dashboards
Best Practice 1: Define Clear Roles and Responsibilities
Assign clear roles and responsibilities for managing your accounts receivable processes. Ensure key stakeholders understand the importance of timely and accurate data entry, invoice generation, and follow-up actions. Establish a streamlined workflow that fosters collaboration and accountability.
Best Practice 2: Conduct Regular Training and Skill Enhancement
Invest in training and skill enhancement programs for your finance team. Stay updated with the latest Excel features, data analysis techniques, and accounts receivable management practices. Continuous learning will empower your team to maximize the potential of your Excel Accounts Receivable Dashboard Template.
Best Practice 3: Embrace Automation and Integration
Automate repetitive tasks such as generating invoices, sending reminders, and collecting payments. Explore integration options with your accounting software or customer relationship management (CRM) system to streamline processes and eliminate manual errors. Seamless integration ensures data accuracy and improves operational efficiency.
Wrap-Up:
Creating an Excel Accounts Receivable Dashboard Template is a powerful way to gain valuable insights into your business’s financial health. By harnessing the visualization capabilities of Excel, you can improve your control over accounts receivable, streamline your operations, and make informed decisions. Remember to define clear goals, gather accurate data, design a user-friendly dashboard, and regularly review and refine your template. Incorporating best practices and tips will further optimize your dashboard’s effectiveness. Implementing an Excel Accounts Receivable Dashboard Template is a valuable step towards achieving financial success in your business.
Key Takeaways: Excel Accounts Receivable Dashboard Template
- An Excel accounts receivable dashboard template is a useful tool for tracking and managing the money owed to a company.
- This template provides a visual representation of key AR metrics, such as outstanding invoices, customer payment history, and aging of receivables.
- By utilizing this template, businesses can gain insights into their cash flow, identify potential issues, and make informed decisions to improve their accounts receivable performance.
- Creating an Excel accounts receivable dashboard involves organizing and inputting data, choosing relevant charts and graphs, and regularly updating the dashboard for accurate and up-to-date information.
- With the proper implementation and utilization of this template, businesses can streamline their accounts receivable processes and enhance their financial management.
Frequently Asked Questions
Welcome to our Frequently Asked Questions section, where we address common queries regarding the Excel Accounts Receivable Dashboard Template: A How-To Guide. Here, we’ll provide you with clear and concise answers to help you navigate through the template and maximize its potential.
1. How can I download the Excel Accounts Receivable Dashboard Template?
To download the Excel Accounts Receivable Dashboard Template, simply visit our website and navigate to the template’s page. Once there, click on the download button, and the file will be saved to your computer. The template is compatible with most versions of Microsoft Excel.
After downloading the template, locate the file on your computer, double-click on it to open it in Excel, and you’ll be ready to start utilizing the powerful features of the dashboard.
2. How do I input my accounts receivable data into the template?
Entering your accounts receivable data into the template is straightforward. Start by opening the downloaded Excel file and navigating to the designated data entry sheet. Here, you can input your customer names, invoice numbers, invoice amounts, and due dates in the respective columns.
Once you’ve entered your data, the dashboard will automatically update and provide you with valuable insights and visualizations, giving you a comprehensive overview of your accounts receivable performance.
3. Can I customize the dashboard to suit my specific needs?
Absolutely! The Excel Accounts Receivable Dashboard Template is designed to be customizable, allowing you to tailor it to your unique requirements. You can change colors, fonts, and data formatting to match your branding guidelines or personal preferences.
Besides visual customization, the template also includes flexible formulas and calculations, enabling you to modify and adapt the metrics and KPIs to align with your specific business model. Feel free to explore the template and make any necessary changes to meet your needs.
4. How often should I update the data in the dashboard?
For optimal accuracy and insights, it’s recommended to update the data in your Excel Accounts Receivable Dashboard Template regularly. The frequency of updates depends on your business’s needs and the volume of accounts receivable transactions you handle.
Aim to update the data at least once a week or whenever significant changes occur. By keeping the dashboard up-to-date, you’ll have real-time visibility into your accounts receivable performance and be able to make informed decisions based on the latest information.
5. Is technical support available for the Excel Accounts Receivable Dashboard Template?
Yes, technical support is available for the Excel Accounts Receivable Dashboard Template. If you encounter any issues or have questions while using the template, you can reach out to our support team for assistance.
We provide comprehensive documentation and instructions to guide you through the template’s features and functionality. Additionally, our support team will be happy to address any specific concerns or help troubleshoot any problems you may encounter along the way.
Summary
Creating an Excel Accounts Receivable Dashboard is a useful way to keep track of money owed to your business. By following these simple steps, you can easily set up your own dashboard to monitor customer payments, outstanding balances, and overdue invoices. With this helpful tool, you can stay organized and ensure that you get paid on time.
Remember to customize your dashboard to fit your business needs and update it regularly for accurate information. By using colors, charts, and conditional formatting, you can make your dashboard visually appealing and easy to understand. With just a little time and effort, you can have a functional and effective Accounts Receivable Dashboard to help you stay on top of your finances.


The Solar Energy Financial Model Spreadsheet Template in Excel assists you in preparing a sophisticated financial forecast for a utility-scale solar p... read more

The Mobile App Financial Plan Template in Excel allows you to develop financial projections when launching a new business centered around an app insta... read more


The Private Equity Fund Cashflows Model helps LPs and GPs analyze fund cash flows, returns, and distributions across investor, manager, and portfolio ... read more

The Pharma Biotech Valuation Model Template calculates the risk-adjusted DCF Value of a Pharma or Biotech Startup Company with several products under ... read more

The SaaS Business financial model offers valuable assistance in preparing a budget and multi-year financial plan for a Software as a Service (SaaS) bu... read more
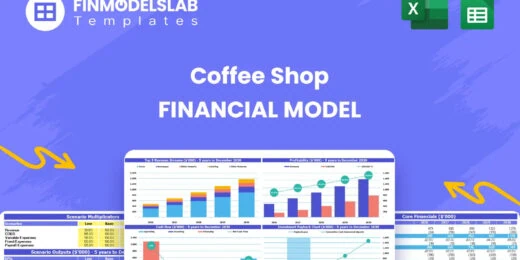

The Coffee Shop Financial Model helps entrepreneurs, founders, business owners, consultants, and analysts turn a cafe concept into a structured financ... read more

This Discounted Cash Flow (DCF) valuation calculator template projects a three-statement model that allows users to value a company based on the net p... read more

The Hotel Investment Financial Model provides a framework to forecast the expected cash flows for a hotel investment and calculates the relevant inves... read more
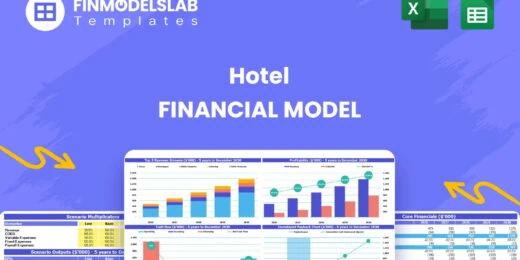
The Hotel Financial Model helps users build a structured financial forecast for a hotel business using the revenue drivers that matter most in hospita... read more

The Upstream Oil & Gas Project Financial Model Template in Excel empowers you to project and dissect your impending Oil and Gas drilling ventures. Pre... read more

A commercial real estate valuation model template assists in running a professional DCF Valuation for a commercial property such as an office building... read more

We are introducing our 4-Tier Waterfall Profit Distribution Model. The waterfall profit distribution model template aims to support a thorough analysi... read more

The Wind Farm Financial Model provides a powerful 40-year forecast, capturing critical data on energy production, revenues, operating costs, and debt ... read more


This is a financial model template for a new private school startup business. The Excel model allows forecasting the cash flows over the next 10 years... read more
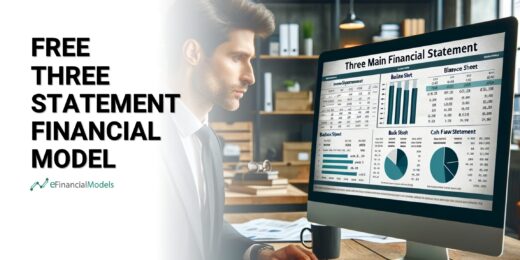
Feeling overwhelmed by the daunting task of financial forecasting? This FREE Download 5-Year Three Statement Financial Model Excel Template offers you... read more


Dynamic 10-Year Financial Model, suitable for any type of business, supporting strategic planning, investment decisions, and business valuation.

This green hydrogen financial model template builds a multi-year financial plan to analyze the financial feasibility and profitability for the product... read more

Investors can assess the viability of setting up and investing in gasoline stations with a charging station by downloading a financial model for their... read more
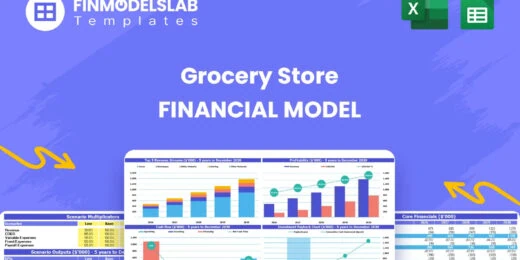
The Grocery Store Financial Model helps entrepreneurs, founders, consultants, analysts, and retail business owners build a structured financial foreca... read more

The Manufacturing Financial Model provides a framework to accurately forecast the financial statements of a manufacturing company over the next 10 yea... read more

The Model Incorporates data provided by different available sources to Model an Electrolysis financial model. It includes Electrolyzer cost, Dispenser... read more
The Outpatient Clinic Financial Model helps users turn a clinic business concept into a structured, editable financial forecast. Instead of relying on... read more


Air BnB Financial Model Template presents the business case of the purchase of up to 5 properties with the intent of utilizing them as short term rent... read more

The beverage manufacturing industry is a dynamic and rapidly growing sector that caters to a diverse market ranging from soft drinks and juices to alc... read more

This is a simple capitalization (cap) table template which allows entrepreneurs to understand the dilution effect of capital raisings and a simple sto... read more

Highly-sophisticated and user-friendly financial model for Startup Companies providing a 5-Year advanced financial forecast.

The Gold Mine Investment Model is used to determine the financial feasibility of a proposed Gold Mine Investment. The Financial Model outputs IRR and ... read more

Airport Operator Financial Model presents the business case of an already operating airport (with planned refurbishments) and an investment in a new t... read more
The Bakery Financial Model helps entrepreneurs, bakery owners, consultants, analysts, and business plan writers turn a bakery concept into a structure... read more

Average rating:Submit Rating
Model for in depth understanding of high level profit and loss and revenue analysis. Big-4 like checklist of due diligence analyses. This Financial Du... read more
The Cafe Financial Model is a ready-to-use financial model template designed to help entrepreneurs, cafe owners, founders, consultants, and analysts b... read more
The Clothing Store Financial Model helps turn a retail apparel concept into a structured financial forecast that can be used for planning, funding, bu... read more

This detailed, yet easy to use three statement financial model will allow you to calculate your business' profit and loss, build a balance sheet and c... read more

The rental property financial model calculates the homeowner's IRR and long it takes to repay a mortgage when the property is rented. The financia... read more

The IRR Project Finance Analysis forecasts the expected financials for a greenfield project and calculates the levered and unlevered Internal Rate of ... read more
The Online Clothing Store Financial Model helps founders, entrepreneurs, business owners, consultants, and analysts turn an apparel e-commerce idea in... read more


Authorities and Responsibilities Matrices are considered important to organizations due to their role in identifying and documenting decisions that ar... read more

The Biogas Financial Model forecasts the expected financials for a Biogas plant project and calculates the IRR and NPV values for the project.

The template allows the user to calculate the net present value (NPV), internal rate of return (IRR) and payback period from simple cash flow stream w... read more
The Dental Clinic Financial Model helps users turn a dental practice concept, launch plan, or expansion strategy into a structured five-year financial... read more
This poultry financial model template in Excel provides a framework to determine the financial feasibility of a new poultry project for producing bro... read more

The purpose of this financial model is to evaluate the financial feasibility of a waste to energy project such as e.g. a landfill gas plant. The model... read more

Start Up Solar Farm Excel Model presents the business case of an investment in the construction of a solar farm and the sale of the energy generated f... read more

This is a collection of ready-made Excel financial model templates for real estate businesses and its related sectors.

This is a simple fundraising financial model template in Excel. Enter your business plan, calculate the amount of funding required and allocate the eq... read more

Launching a manufacturing startup can be complex, and securing financing requires a solid financial plan. Our Manufacturing Startup Financial Feasibil... read more


The FMCG Financial Model provides a framework to accurately forecast the financial statements of a FMCG company over the next 8 years. The model uses ... read more

The purpose of this model is to provide a simple way to see the financial statements for many companies in i file

The Hotel Valuation Financial Model provides a simple way to forecast the expected cash flows for a hotel investment and calculates the relevant inves... read more
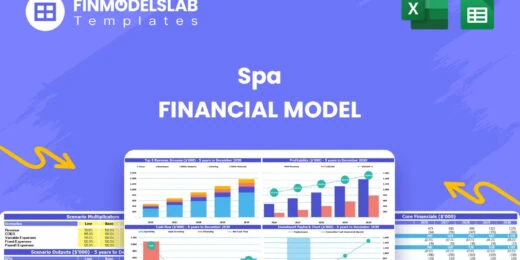
The Spa Financial Model helps entrepreneurs, spa owners, consultants, analysts, and business planners turn a wellness concept into a structured five-y... read more

!! Kindly use the latest Microsoft Excel Version before purchasing the model, otherwise, the dynamic dashboard will NOT work.!! Inventory Dashboard Mo... read more


This financial model can be used to evaluate the financial feasibility of a real estate development project and present it in investor grade quality t... read more
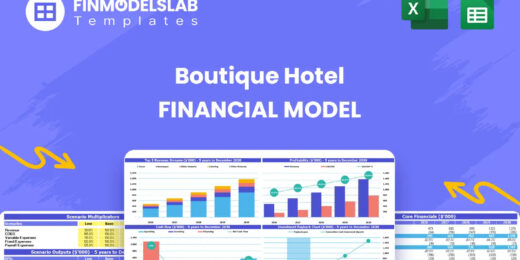
The Boutique Hotel Financial Model Financial Model Template helps entrepreneurs, hotel owners, consultants, analysts, and founders turn a boutique hos... read more


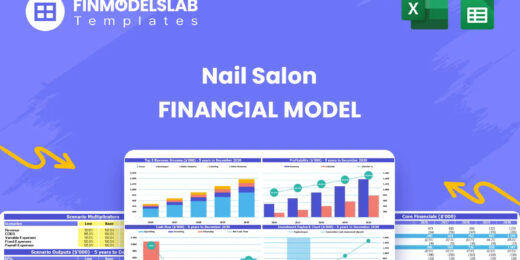
The Nail Salon Financial Model Financial Model Template helps entrepreneurs, salon owners, consultants, analysts, and business plan writers turn a nai... read more

This chicken egg farming model aims to plan the operations, financial feasibility, and profitability of a new poultry egg farming business. This Start... read more

This monthly budget-to-actual dashboard allows for at-a-glance performance analysis. In addition to analyzing YTD performance, it also provides a revi... read more

Set your KPI objectives and your month to month financial results and Financial Dashboard Excel Template will take care of creating the beautiful Grap... read more


This excel template is great for those wanting a professional-looking forecast 10 years of financial statements, those starting out as an entrepreneur... read more

The Residual Land Value Calculation model allows you to determine the value of a piece of land from a developer's point of view by analyzing how much ... read more

This coffee farm financial feasibility model template prepares a financial plan for your next coffee growing project! Figure out the expected incomes ... read more

Professional Financial Modeling - Tailor Made Services and assistance for your business needs.
The Medical Practice Financial Model helps users turn a clinic concept, expansion plan, or healthcare service idea into a structured five-year financi... read more

Average rating:Submit Rating
This model is profit and loss statement for general trading including comparison for the current month, year to date and full year
Average rating:Submit Rating
The Digital Marketing Agency Financial Model helps agency founders, business owners, consultants, and analysts build a structured financial forecast f... read more
Average rating:Submit Rating
The Solar Panel Manufacturing Financial Model helps users turn a solar factory concept into a structured, investor-ready financial forecast. It is des... read more
The Car Rental Financial Model helps entrepreneurs, founders, business owners, consultants, and analysts turn a rental car business idea into a struct... read more
The Travel Agency Financial Model helps entrepreneurs, founders, consultants, analysts, and business owners build a structured financial forecast for ... read more

This is a collection of financial model templates for projects or ventures in the Renewable Energy Industry and its related sectors. The total value ... read more
" The Restaurant Financial Model helps users turn a restaurant concept into a structured, editable financial forecast without building complex spreads... read more
The Pizza Restaurant Financial Model Template helps entrepreneurs, restaurant owners, consultants, analysts, and founders turn a pizza restaurant conc... read more

The Personal Budgeting App Financial Model Financial Model Template helps founders, entrepreneurs, consultants, analysts, and business planners turn a... read more
The Resort Financial Model Financial Model Template helps resort developers, hospitality entrepreneurs, business owners, consultants, and analysts tur... read more

The Real Estate Portfolio Financial Model Template forecasts the financial performance when building a real estate portfolio. The model allows simulat... read more
The Beauty Salon Financial Model helps entrepreneurs, salon owners, consultants, analysts, and founders turn a salon business idea into a structured f... read more
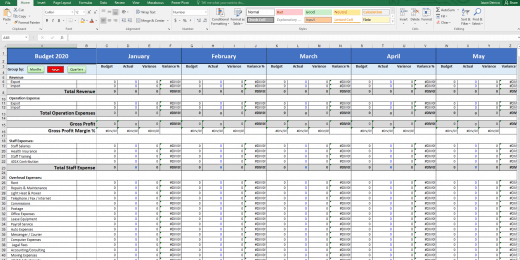

The Budget vs. Actual financial model is used to measure actual results against the budget projected for the financial period.

Project Finance Model for a Solar (PV) Power Plant projecting revenue, operating costs, and cash flow based on installed capacity, solar irradiance, p... read more
The Insurance Agency Financial Model helps entrepreneurs, agency owners, consultants, analysts, and business planners build a structured financial for... read more

The Mergers & Acquisition (M&A) Model provides a projection for a company looking to potentially merge or acquire another company. This model runs... read more


A professional template to budget payroll expenses

Average rating:
A self-made Modeling Test with a solution for Onshore Wind Turbines plant. The case study is in Chile assuming a 376 MW Capacity. The download include... read more

The model presents an example of a Monte Carlo Simulation using excel to estimate the Net Present Value of an investment.

Commercial Banking Financial Model presents the case of a commercial bank with regulatory thresholds based on Basel 3. The model generates the three f... read more

Average rating:Submit Rating
Financial model template for a high-level real estate brokerage firm that facilitates the buying and selling of real estate properties between buyers ... read more
The Food Truck Financial Model helps entrepreneurs, founders, business owners, consultants, and analysts turn a mobile food business idea into a struc... read more

Distilleries, with their rich history of crafting spirits, have experienced a resurgence in popularity, driven by consumer interest in artisanal and l... read more

Leveraged Buy Out (LBO) Model presents the business case of the purchase of a company by using a high level of debt financing. The model generates the... read more

Offering you with Custom financial modeling services or assistance by an experienced financial modeling team called Big4WallStreet.

Advanced 10-year financial model for a Software as a Service (SaaS) business providing a solid financial foundation to evaluate scalability, optimize ... read more

The DCF Valuation Model for Restaurants provides a business plan in the form of an Excel Template to value a restaurant based on the Discounted Cash F... read more


Average rating:Submit Rating
Online Car Rental Platform Business Plan Model is a perfect tool for a feasibility study on launching an online car rental business.

Our Net Present Value Calculator in Excel helps you quickly assess the profitability of your investments by simplifying complex financial calculations... read more


User-friendly Excel model intended for the preparation of a Cost-Benefit Analysis to determine the financial viability for a proposed project or inves... read more
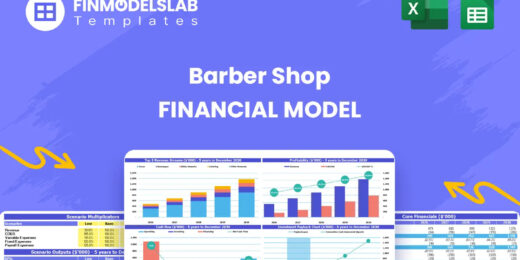
The Barber Shop Financial Model Financial Model Template helps entrepreneurs, business owners, consultants, and analysts turn a barber shop concept in... read more

Merger and Acquisition Model template consists of an excel model which assists the user to assess the financial viability of the resulting proforma me... read more

Airline Operator Financial Model presents the case of a company operating an airline business. The model generates the three financial statements, a s... read more

Setting up a biodiesel manufacturing plant requires a comprehensive and executed business strategy. To assess biodiesel production's financial sustain... read more

Best practice model for a complete Price Volume Mix (PVM) analysis on revenue and on gross profit by product.

The Clinical Laboratory Financial Model helps users turn a diagnostic lab concept into a structured five-year financial forecast. It gives entrepreneu... read more
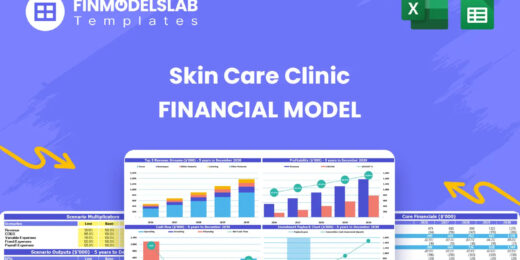
The Skin Care Clinic Financial Model helps entrepreneurs, clinic owners, consultants, analysts, and business planners turn a skin care or aesthetic cl... read more
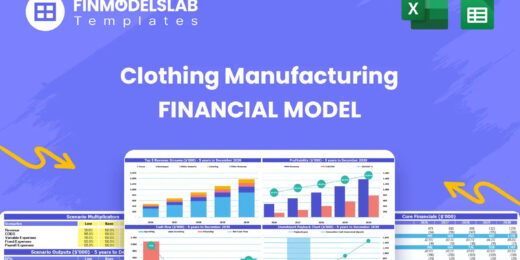
The Clothing Manufacturing Financial Model helps users turn a garment production concept into a structured, editable financial forecast. It is built f... read more
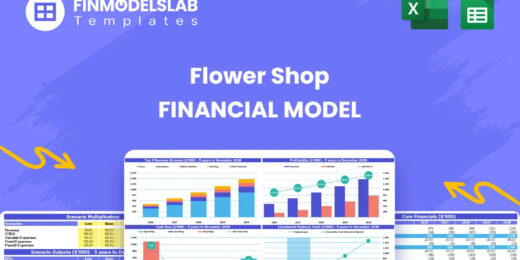
The Flower Shop Financial Model helps entrepreneurs, florists, business owners, consultants, and analysts turn a floral retail concept into a structur... read more

Unlock the power of informed financial decision-making with our WACC Calculator! Dive into accurate discount rate estimations and empower your busines... read more
The Bar Financial Model Financial Model Template helps entrepreneurs, bar owners, consultants, analysts, and founders turn a bar, pub, lounge, or nigh... read more
The Healthcare Clinic Financial Model helps founders, clinic owners, consultants, analysts, and business planners turn a healthcare clinic concept int... read more

The Green Hydrogen from Wind Financial Model aims to comprehensively forecast a horizon of 40 years of the financial feasibility and profitability of ... read more

Shopping Mall Financial Model presents the case of an investment into a shopping mall and its operation. The model generates the three financial state... read more

With this comprehensive 5- or 10-year monthly tool, investors can assess the viability of setting up and investing in an EV charging station business ... read more

The Laundry Service Financial Model helps entrepreneurs, business owners, consultants, analysts, and founders build a structured financial plan for a ... read more

Financial Model providing a 10-year financial plan for a startup or operating Subscription Business.
The Catering Service Financial Model helps users turn a catering business plan into a structured, editable financial forecast. Instead of relying on r... read more

The Freight Brokerage Financial Model Financial Model Template helps entrepreneurs, founders, business owners, consultants, and analysts turn a freigh... read more

The Law Firm Financial Model Template helps users turn a legal practice concept into a structured five-year financial forecast. It is designed for att... read more

The Cattle Farming Financial Model helps users turn a cattle farm concept, expansion plan, or funding proposal into a structured financial forecast. I... read more

5-year financial model for a hair and beauty salon providing revenue forecasts, cost analysis, and insights to support growth and profitability.
The Physiotherapy Clinic Financial Model helps founders, clinic owners, consultants, analysts, and business plan writers turn a physiotherapy clinic c... read more
Average rating:Submit Rating
Financial Modeling Tutorial guides user via step by step approach on how to build financial models with DCF valuation

This Free Project Management Template in Excel allows to prepare a project plan with a GANTT chart in MS Excel.


This Hotel / Holiday Resort Development Model will take you through a 20-year period of Three Statement Analysis and provide you with key valuation da... read more
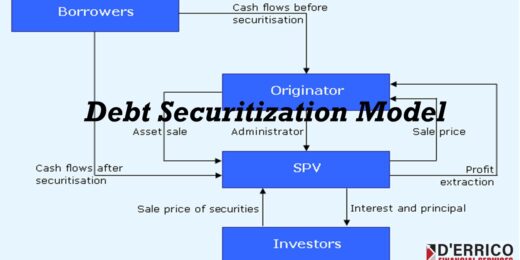
The Debt Securitization is the process of packaging debt into a Securitization Vehicle sold to a Fiduciary where it is converted into bonds sold to in... read more
The Casino Hotel Financial Model helps users build a structured five-year forecast for an integrated hospitality and gaming business. Instead of relyi... read more

Steel Industry Financial Model presents the business case of the operation of a steel plant using the mini mill technology. The model generates the th... read more
The Vegetable Farming Financial Model helps users turn a farming concept, expansion plan, or funding proposal into a structured financial forecast. In... read more
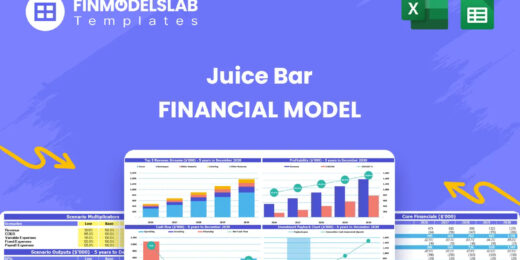
The Juice Bar Financial Model helps entrepreneurs, founders, consultants, analysts, and business owners turn a juice bar or beverage service concept i... read more
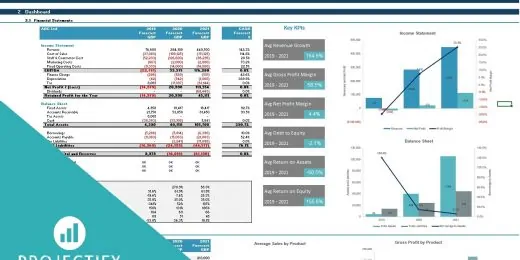
User-friendly Excel model intended for the preparation of a 3 statement (Income Statement, Balance Sheet and Cashflow Statement) financial projection ... read more

Average rating:Submit Rating
Electric Vehicle (EV) charging Station FM helps user asses financial viability of setting up and operating a charging station.

This financial model can be used to value any Initial Public Offering (IPO) using Option Value, DCF and Relative Valuation.

Average rating:Submit Rating
3 statement 5 year rolling financial projection Excel model for a startup /existing manufacturing business

Average rating:Submit Rating
Fully-Vetted Comprehensive Cloud Services Financial Model + Video Series + eBook

The Private Equity Oil and Gas Financial Model evaluates the financial feasibility and investor returns when investing in a portfolio of upstream oil ... read more

The Food Manufacturing Financial Model helps entrepreneurs, founders, consultants, analysts, and business owners turn a food production concept into a... read more
Average rating:Submit Rating
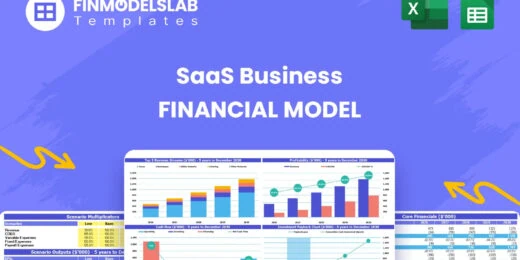
The SaaS Business Financial Model helps founders, entrepreneurs, consultants, analysts, and business owners build a structured financial plan for a so... read more

Financial model presenting a Crop Farm business scenario.
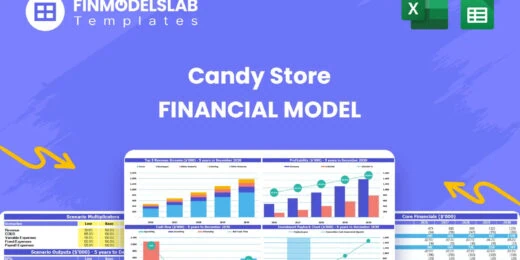
The Candy Store Financial Model helps entrepreneurs and planners turn a retail confectionery concept into a structured financial forecast. Instead of ... read more
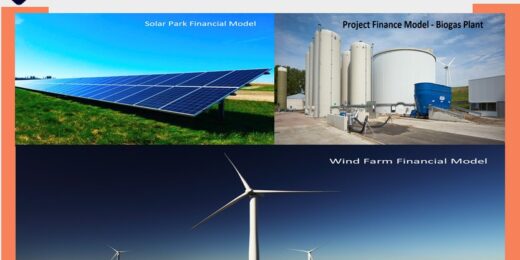
Take this opportunity and get a discount by getting the Renewable Energy Bundle where you get Solar, Wind and Bio Gas Plant Financial Model Templates!

This is a collection of financial model templates for businesses in the Agriculture Industry and its related sectors.
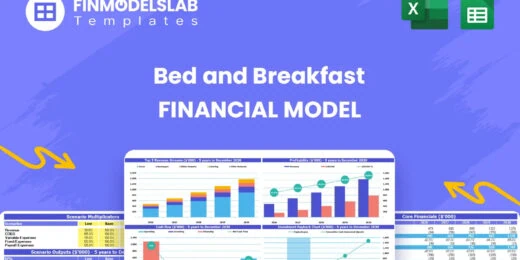
The Bed and Breakfast Financial Model is a ready-to-use financial model template built to help entrepreneurs, inn owners, consultants, analysts, and b... read more

Our Mini-Storage Financial Model Template is your all-in-one solution for building a profitable and scalable storage business. Featuring a Detailed 10... read more

Financial Model presenting a business scenario of a corporation engaged in granting loans from its own capital funds or from funds sourced by investor... read more
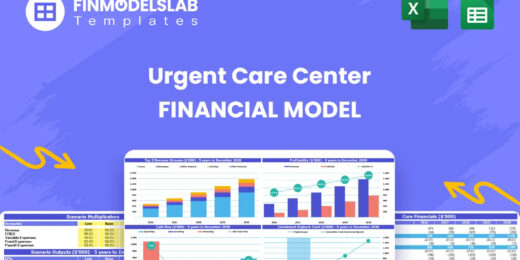
The Urgent Care Center Financial Model helps users turn a walk-in clinic concept into a structured financial forecast that can support planning, budge... read more

The purpose of this Bundle of Business Forecasting and Financial Models is to assist Business Owners and Consultants with a consistent approach to for... read more

This Car Rental Business Financial Model Template in Excel offers an ideal basis for developing a business plan for a car rental company. The template... read more


In order to assess the financial viability of a Solar Park project, the Solar Energy Financial Model Excel template estimates the anticipated financia... read more

Average rating:Submit Rating
User-friendly template including two different methods of modeling an initial public offering (IPO) transaction.

This comprehensive 40-year tool aid investors in evaluating potential risks and returns and assess the viability of setting up and investing in the pr... read more

The objective of the Geothermal Energy financial feasibility model template is to analyze a new Geothermal Energy project in quite some detail in orde... read more

The Architectural Firm Financial Model Template helps founders, architecture practice owners, consultants, analysts, and business planners turn a prof... read more

The digital product marketplace model prepares a financial plan in Excel for online marketplace Startup businesses similar to concepts such as Themefo... read more

Average rating:Submit Rating
Financial model that performs a DCF & Relative valuation on Mining Company.

A collection of user-friendly Project Finance Models in the Renewable Energy Sector offered at a discounted price you can’t miss!

eFinancialModels Team
Content Manager
The eFinancialModels Team showcases the combined expertise of seasoned professionals in financial modeling, valuation, and business analysis. Our goal is to share practical knowledge, insights, and best practices drawn from real-world experience across industries such as renewable energy, real estate, SaaS, manufacturing, and finance.
Through our articles and templates, we aim to make complex financial modeling concepts accessible and actionable—helping entrepreneurs, investors, and finance professionals make smarter business decisions.


